Appearance
Get started
If you’re new to Modulos, you’ve found the place to start. This article provides you with a 30-minute setup guide for your first Modulos project. The steps in this article will show you how to do the following:
- Step 0: Request Modulos Demo and Account
- Step 1: Activate the account
- Step 2: Log in for the first time
- Step 3: Add users to the organization
- Step 4: Start setting up and customizing your organization
- Step 5: Create your first project
Step 0: Modulos Platform Demo
First, book a 15-minute intro call with our team to discuss your AI needs and compliance priorities. If it’s a good fit, we’ll schedule a full demo of the Modulos AI Governance Platform.
Head to modulos.ai/get-demo and request a demo with our team.
We will get back to you ASAP with the meeting invitation!
Step 1: Activate the account
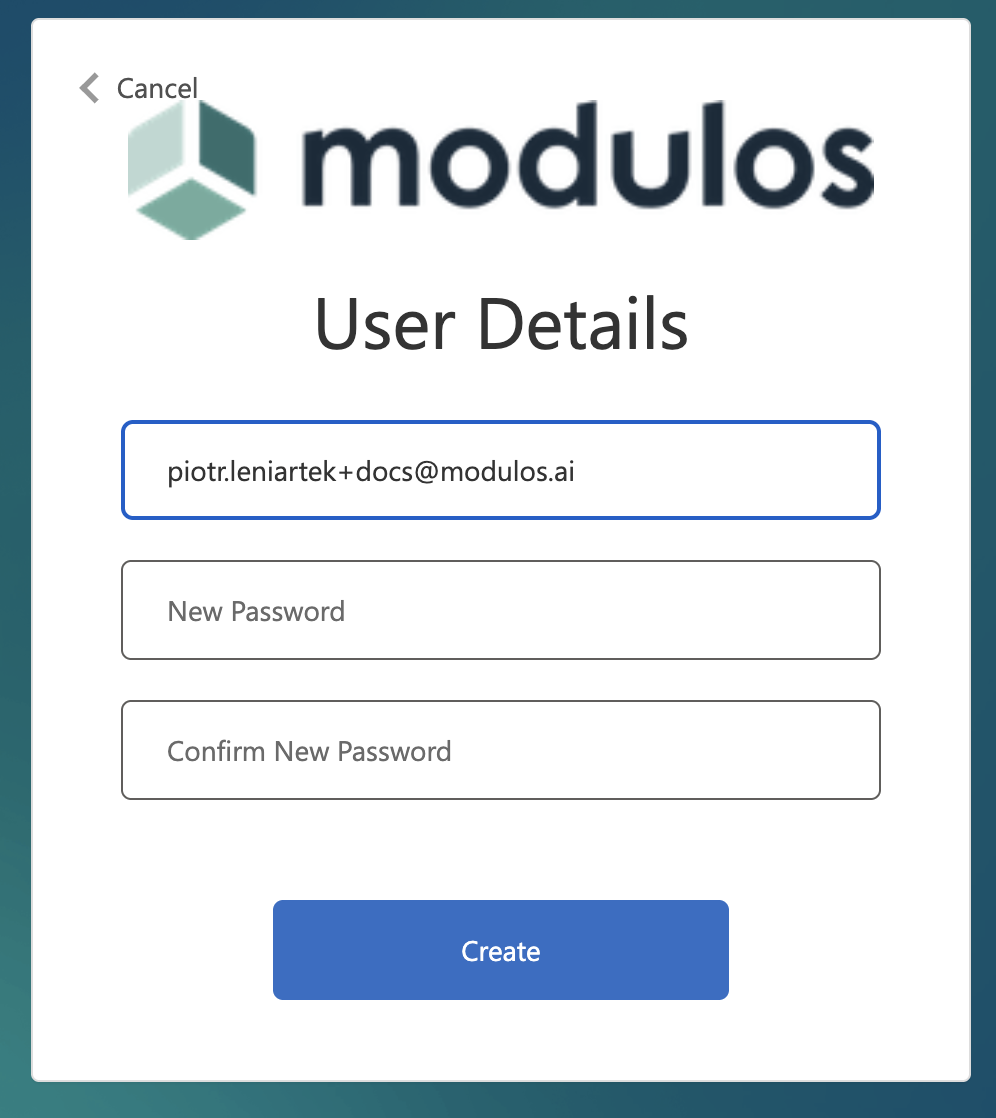
After the demo, we will set up your Organization. Wait for the email with the activation link.
- Open the link provided in the email.
- Check if the email is correct.
- Enter your New Password
- Confirm your New Password

If you encounter any errors in the onboarding process, email [email protected]
Step 2: Log in to the platform
After we’ve created your organization, you can log in and set up your account.
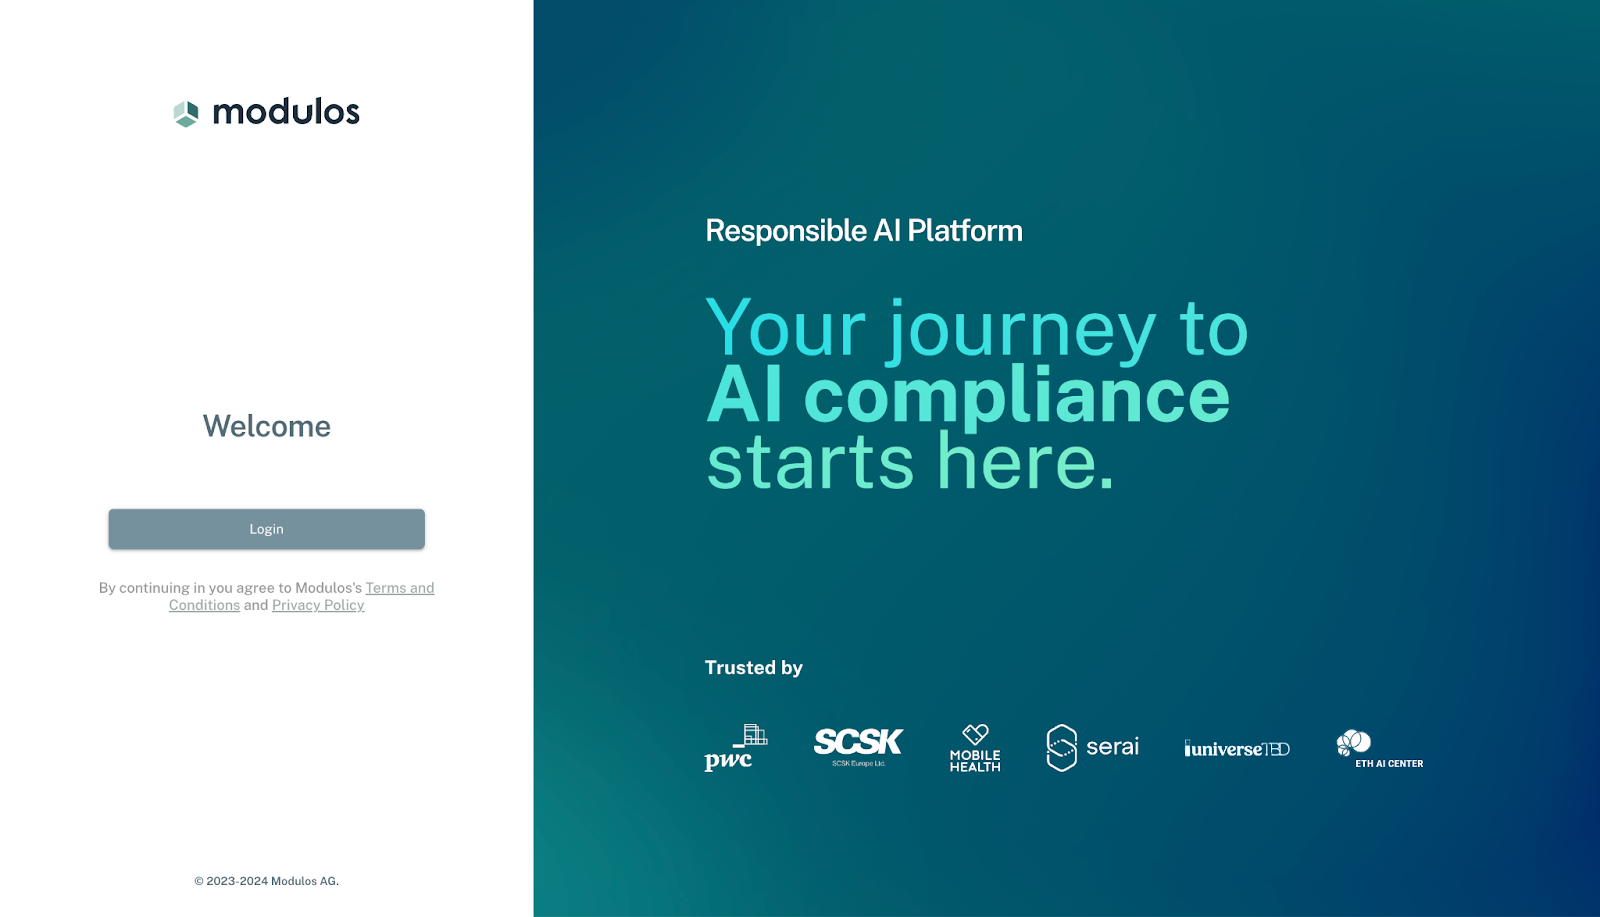
- Head to app.modulos.ai and click on Login.

Modulos Platform Login
- At the Sign in page, enter your email and password.
Step 3: Add users to the organization
After logging in, you’ll land on your dashboard where tasks assigned to you will be presented, and you’ll get an overview of your recent projects.
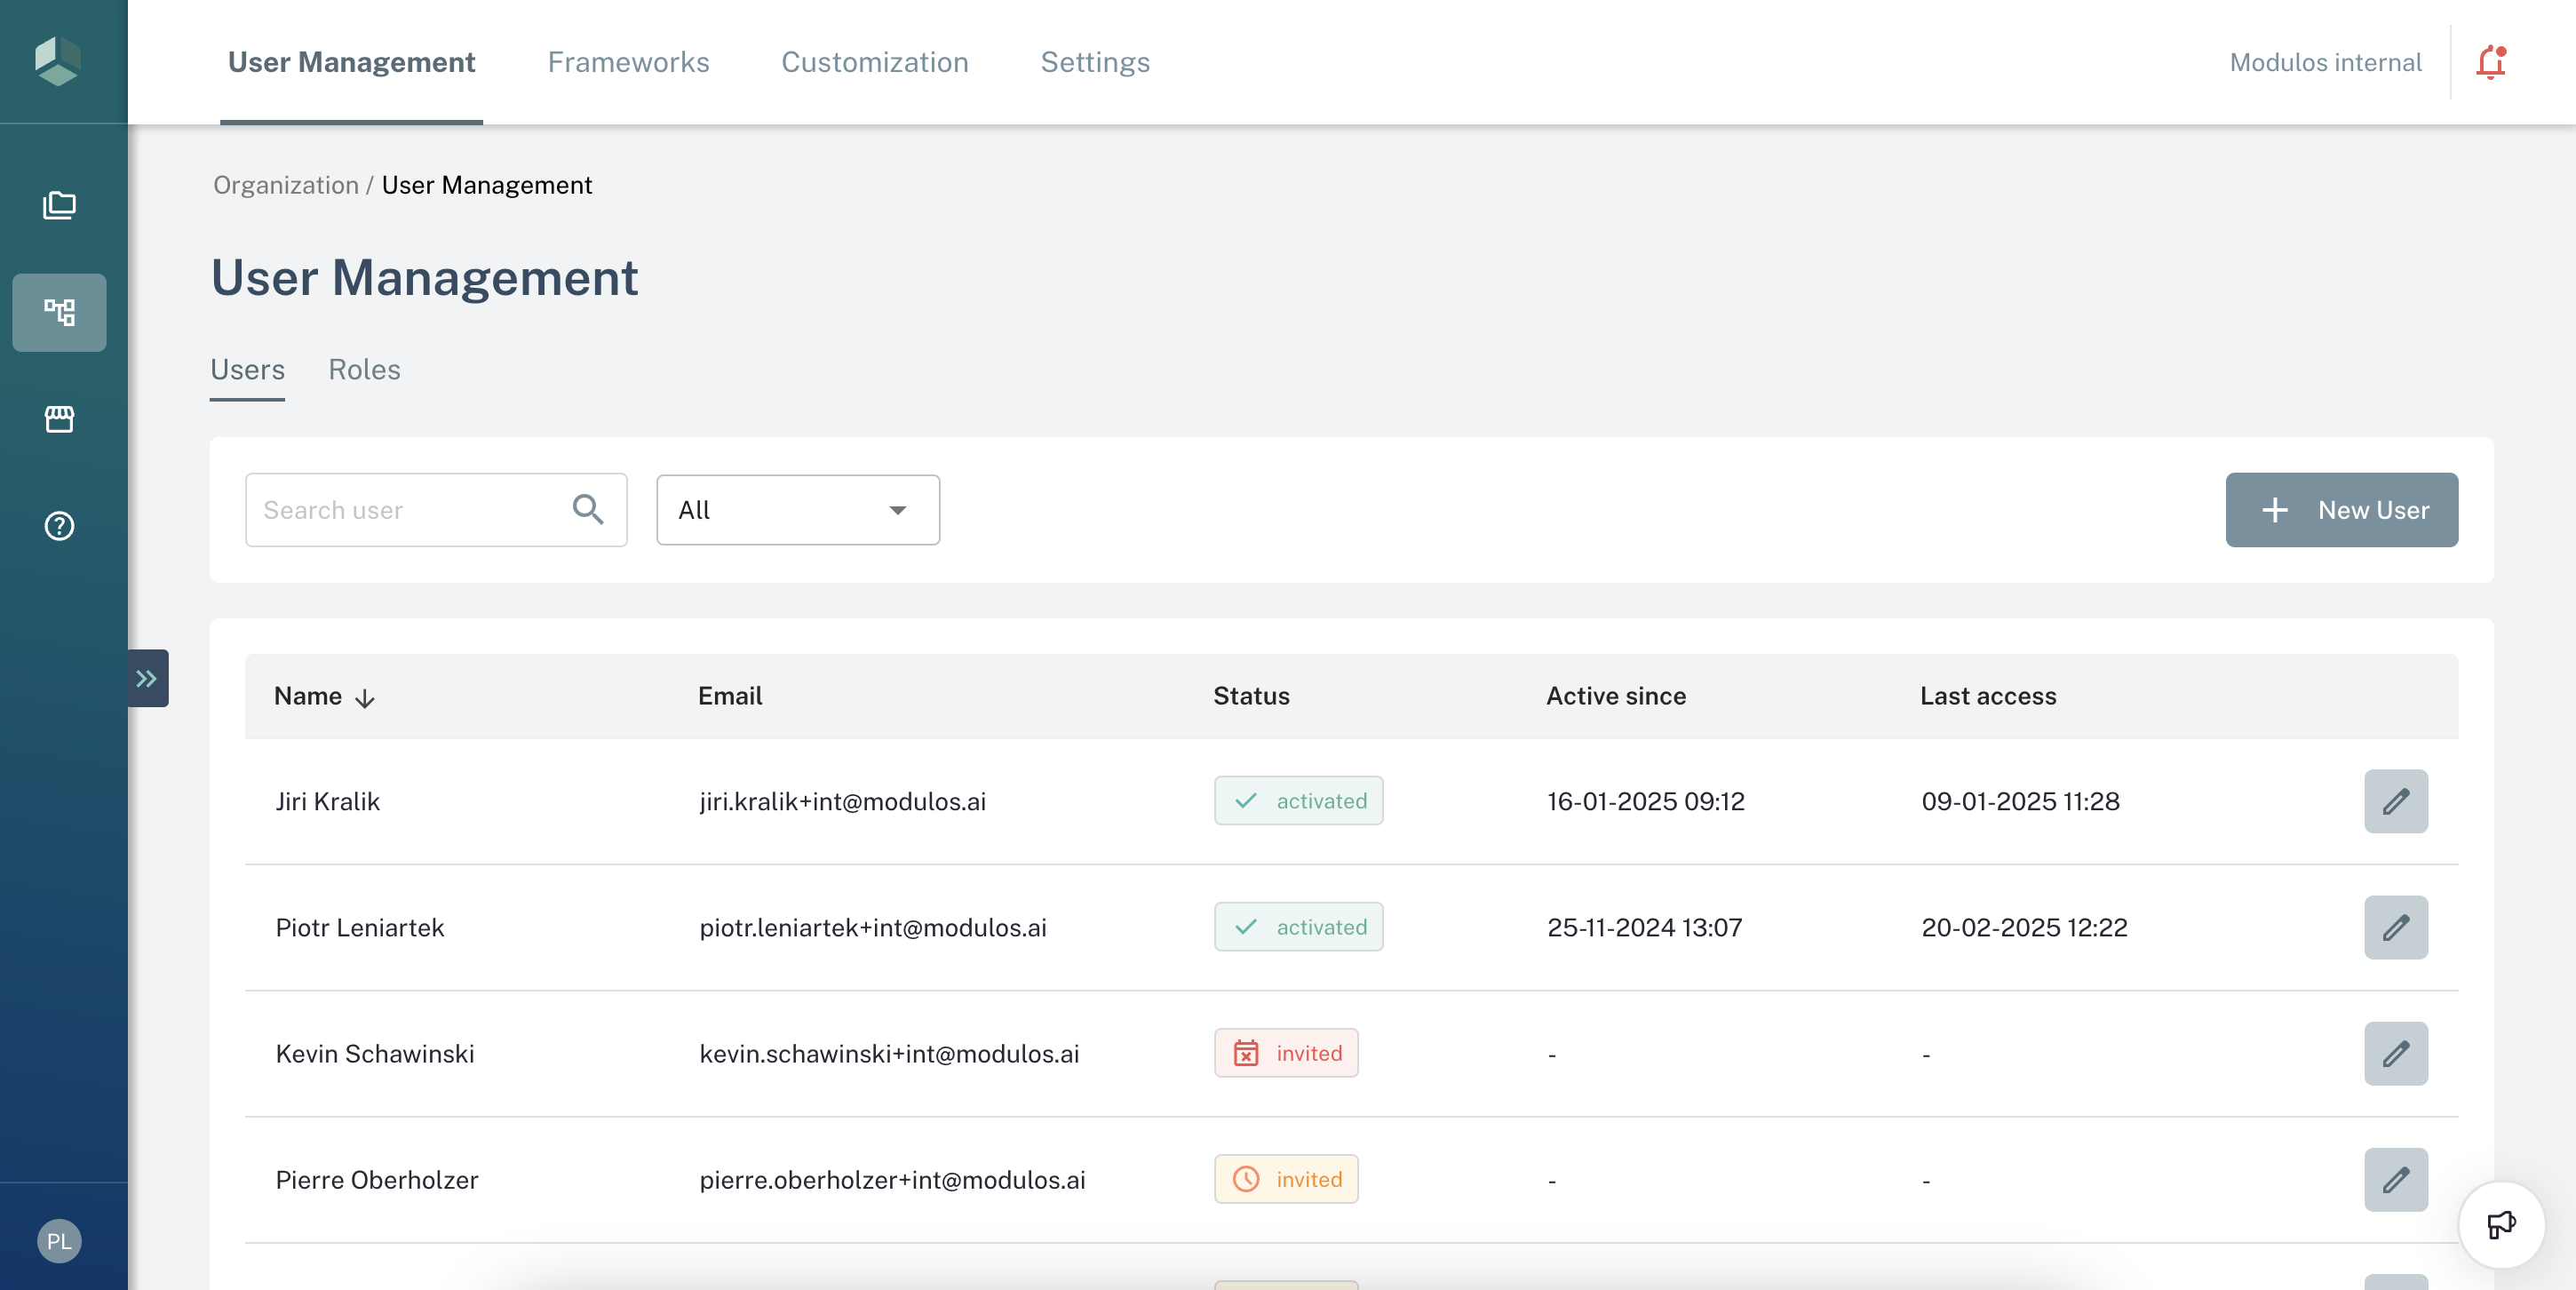
As an organization administrator, you’re able to add, modify and remove users to your organization. Let’s add a new user.
Go to Organization in the sidebar on the left
Head to the User Management page
Click on + Add User in the top right
You’ll get a popup where you can set the first and last name of the user, and their email address. Here you can also decide if the new user should have organization admin rights
Warning: Organization admins have permission to see everything on your organization and modify it. Only give organization admin rights to users who need these rights.
Invited user will receive activation link and should follow the process from Step 0.

User Management
Step 4: Start setting up and customizing your organization
Begin setting up and customizing your organization by making choices on how your organization operates.
Go to the Settings page under Organization in the sidebar
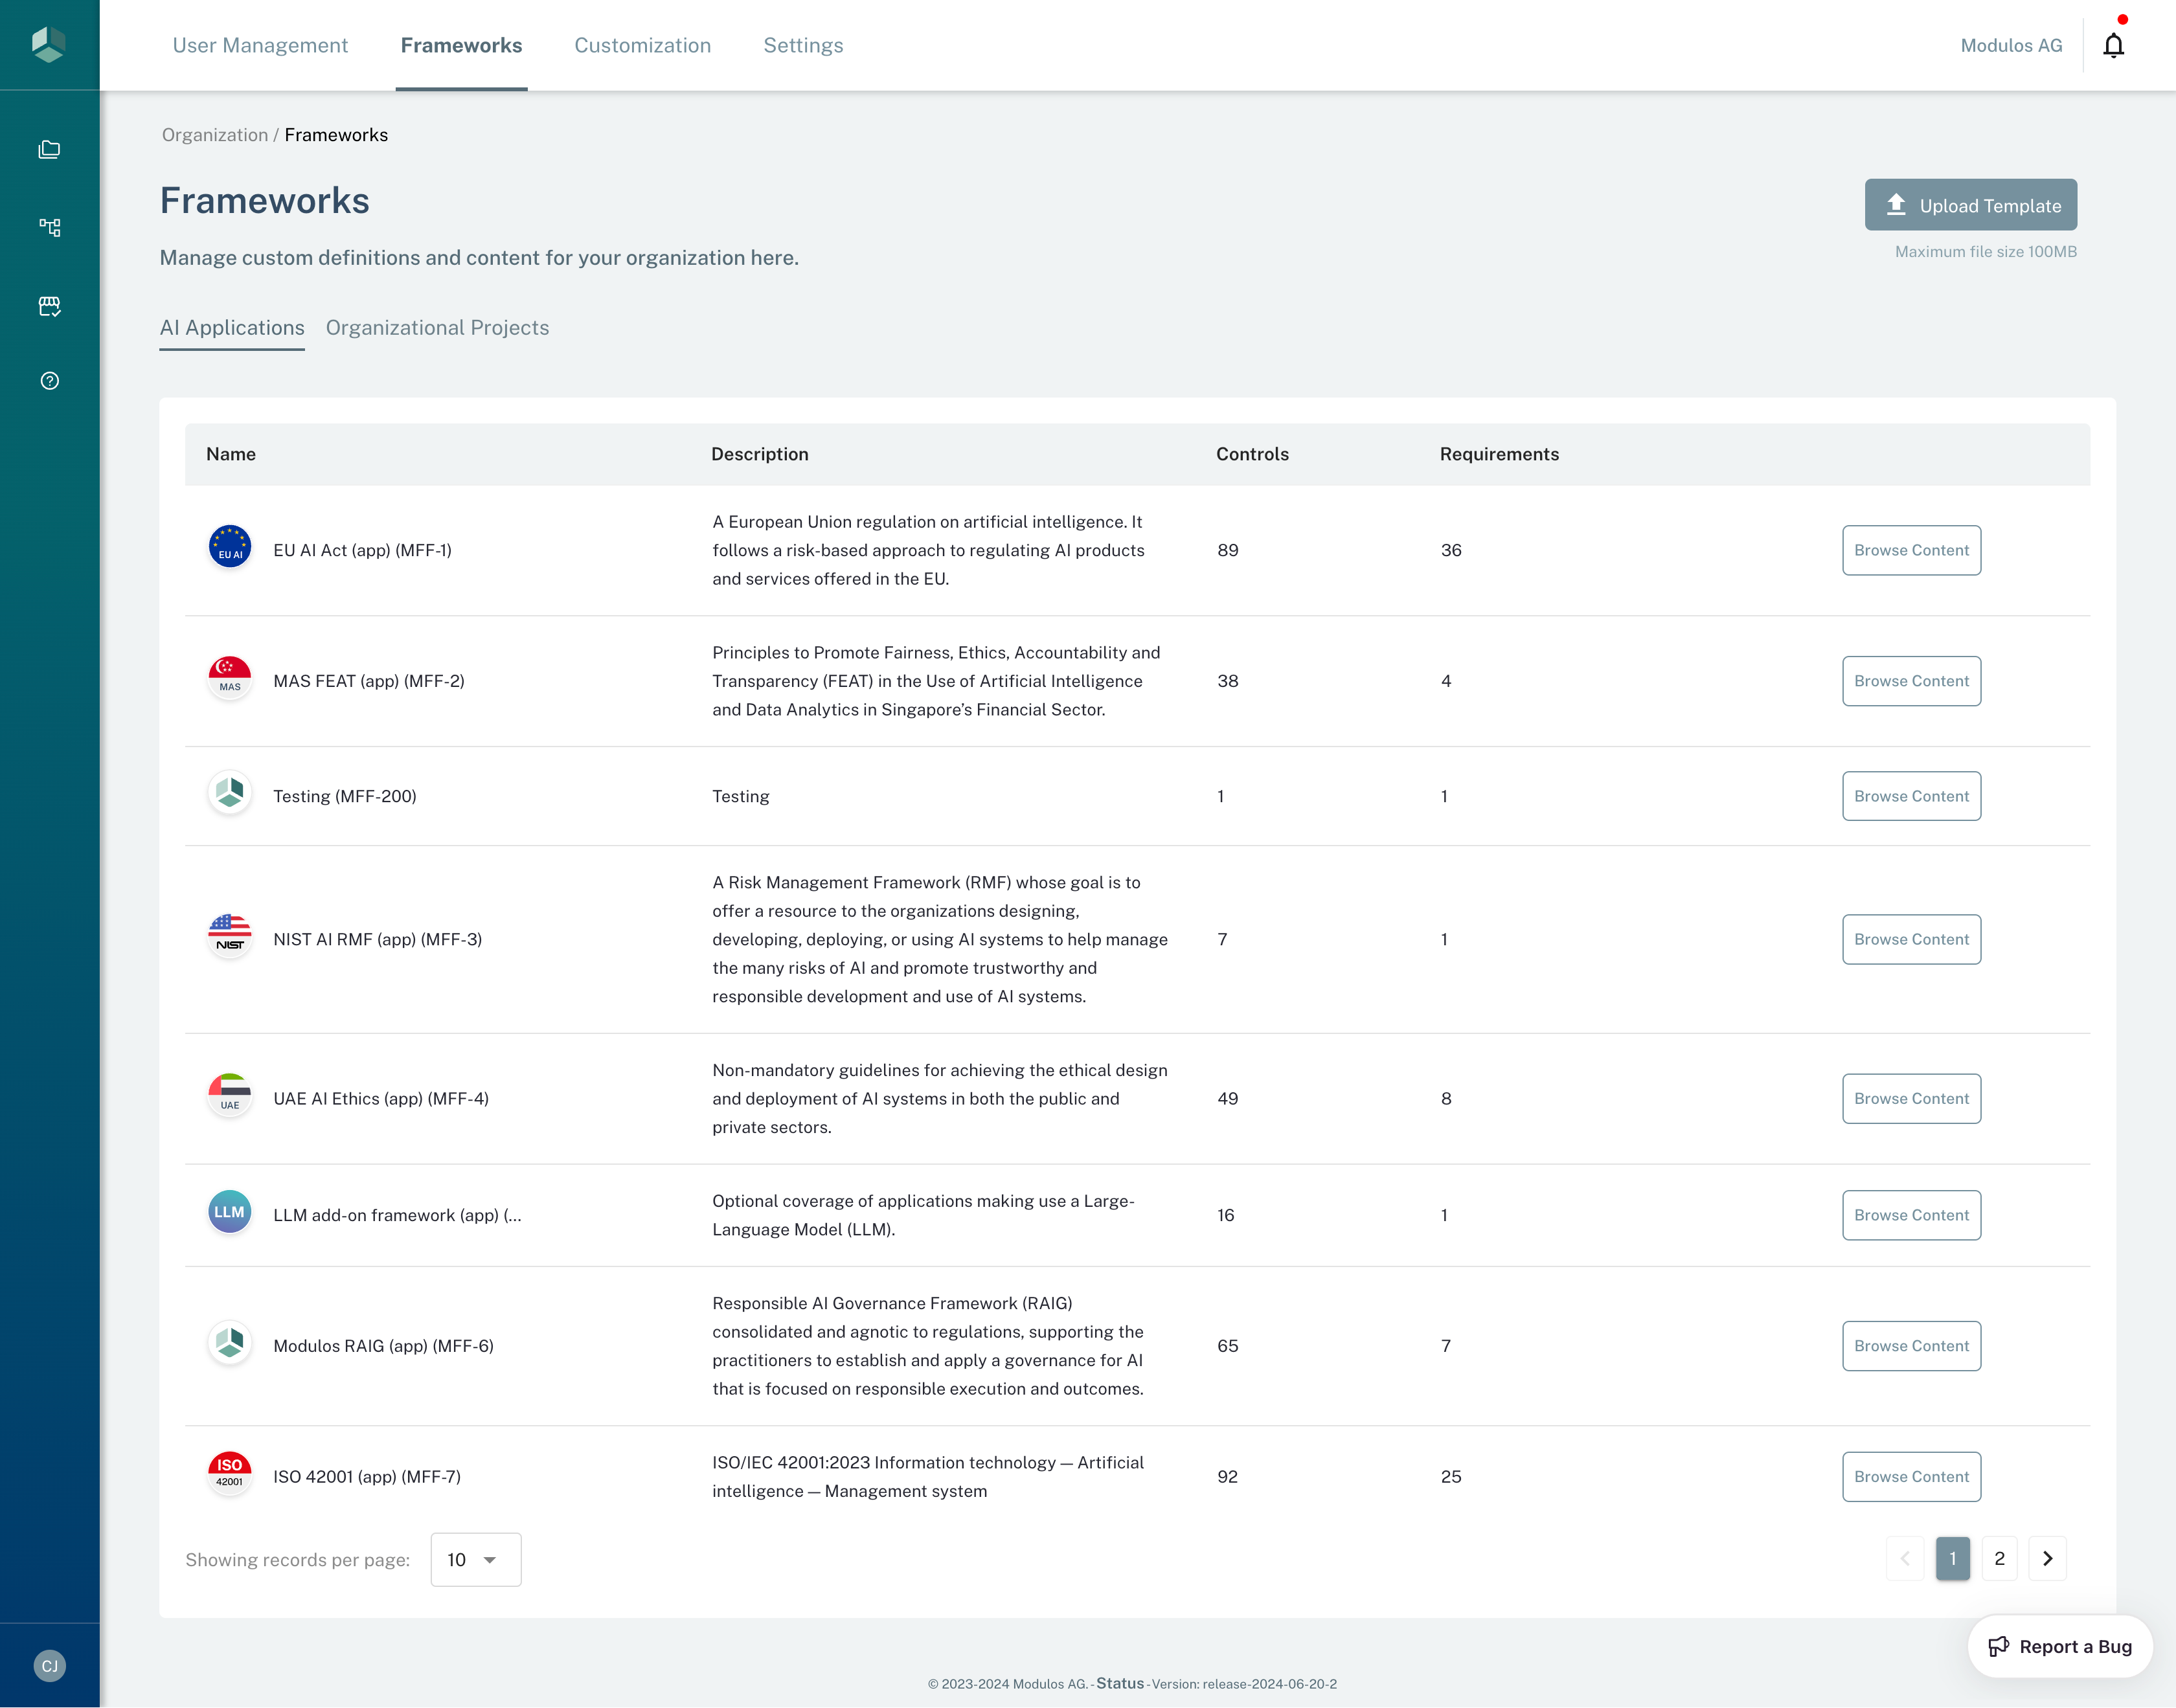
Under Frameworks users can view a list of uploaded frameworks, categorized by AI Applications and Organizational Projects. This section allows users to browse each framework’s content, examining its controls and requirements in detail before initiating a project.

List of Frameworks
Under Customization, you’ll see the various tag categories for your organization, such as the risk taxonomy or the AI System Lifecycle stages. We have pre-filled these with default values, but you may want to edit them to adapt them to your organization’s needs.
Note: Some tags cannot be edited, either because they are set by law (such as the EU AI Act Risk Classification) or because they are needed for interoperability between different Modulos organizations.
Under Settings, you can select the accounting currency which your organization uses.
Note: Your organization can only have one accounting currency. Changing this currency will later on will not convert monetary values and only change the currency symbol.
Step 5: Create your first project
Begin your AI governance activities by creating your first project. There are two types of projects on Modulos:
- AI Applications, which represent individual use cases, products or systems, and
- Organizational Projects, which are used to track activity concerning either your whole organization, or a specific sub-unit.
Let’s start our first AI Application.
Click on Projects in the sidebar to navigate to the project list. On this page, you can change between AI Applications and Organizational Projects. Let’s stay on AI Applications.
Click + New Project in the top right to start the project creation process.
Warning: Your organization’s license limits the number of projects you can create.
In the first step of the New Project creation process, you can set the Project Name, a brief description of the project, and its type (AI Application or Organizational Project). Click Next to proceed to the next step.
In the second step, you can add other users to the project. Click + Add User to the Project to add a user and assign them one or more roles. Learn more about Project Roles. You can always add or remove users later, so when you are done, click Next to proceed.
In the third and final step, you can select which frameworks you want to use in the new project. The project cards give you a short summary of each framework.
Note: Modulos operates on one Modulos Control Framework (MCF) mapped to different frameworks listed here, so by fulfilling a Control, you may make progress towards several frameworks.
Click Create Project to complete the process.
With your project created, you are now ready to start working on it. Start fulfilling workflow.